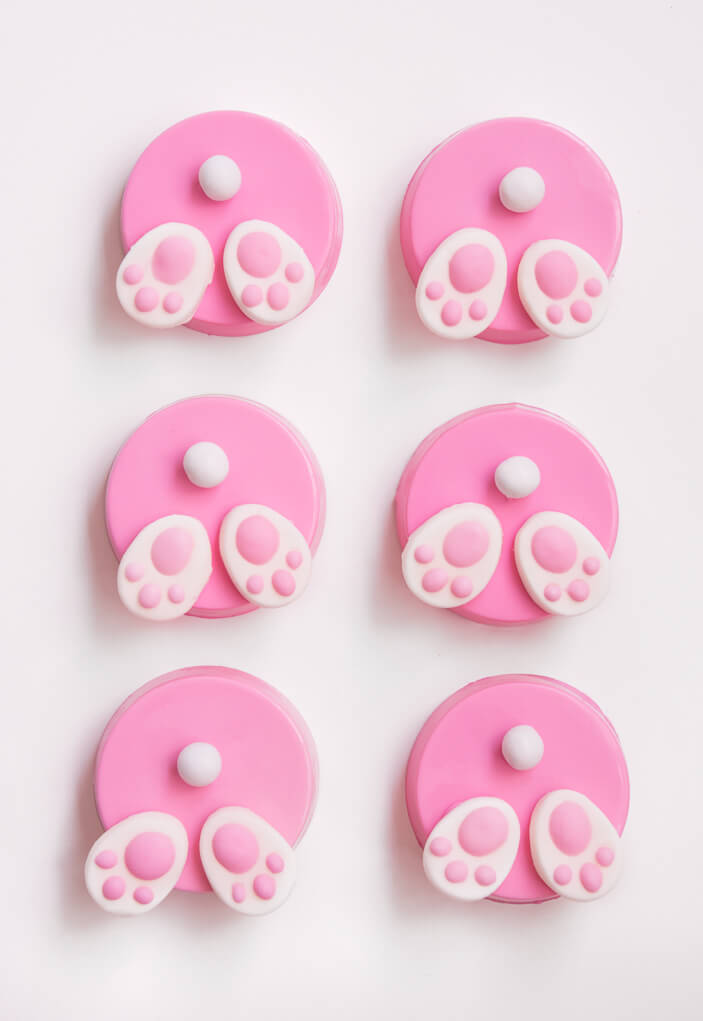
These Bunny Oreos are Oreo sandwich cookies dipped in white chocolate and decorated with royal icing bunny feet and a sixlet chocolate candy. They make the perfect Easter treat.
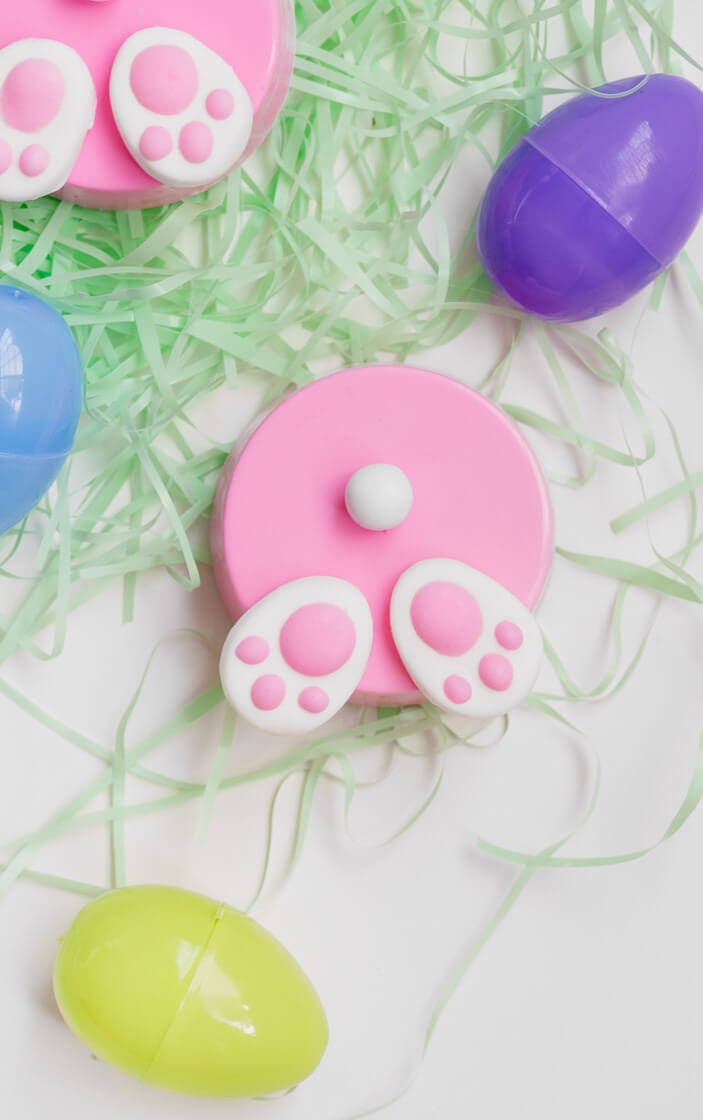
These Bunny Butt Oreos may be the cutest Easter treat I have ever made! I literally sent photos of them to every person I know and said “LOOK HOW CUTE THESE ARE!” And the best part is, they are SO easy. Now, I know everyone has their own opinions on the bet Oreo flavors – and these days, there are a LOT of different flavors to choose from. But when you create these Bunny Butts – you can choose any Oreo you want. I went with Golden Oreos because they are by far my favorite. But if you are a die-hard Birthday Oreo fan – go for it. Love the Mint Oreos? Great. Double Chocolate is your jam? Do it!
WHAT YOU NEED TO MAKE BUNNY BUTT OREOS
- Oreos – any type you want
- Melting chocolate – any color you want
- Wilton Bunny Feet Icing Decorations
- White chocolate sixlets candy or mini marshmallows
- Optional – Oreo Chocolate Molds
That’s it. Literally the easiest thing ever!
WHY YOU NEED TO USE MELTING CHOCOLATE
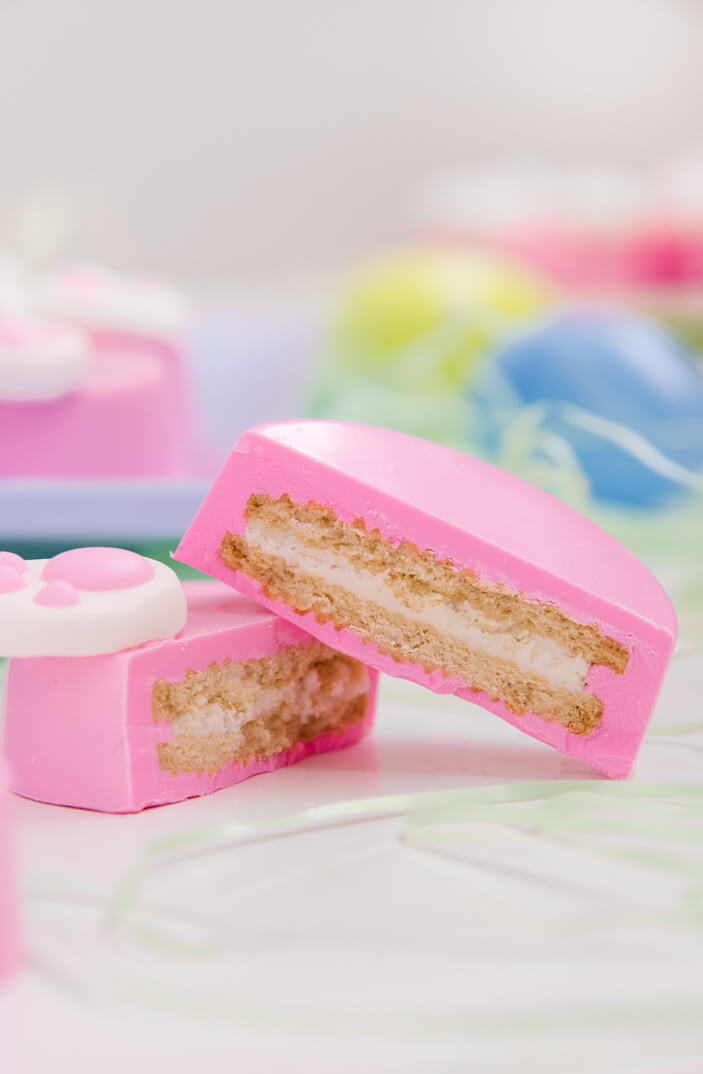
You definitely want to use melting chocolate over any kind of chocolate chip. Melting chocolate is made specifically for dipping and it creates a smooth finish on the Oreos. Chocolate chips are going to leave you with a big mess. The good news is, a lot of grocery stores these days carry melting chocolate in the baking section. And if you are looking to color your melting chocolate, make sure you use oil-based candy coloring. DO NOT use regular food coloring!
DO YOU NEED AN OREO MOLD?
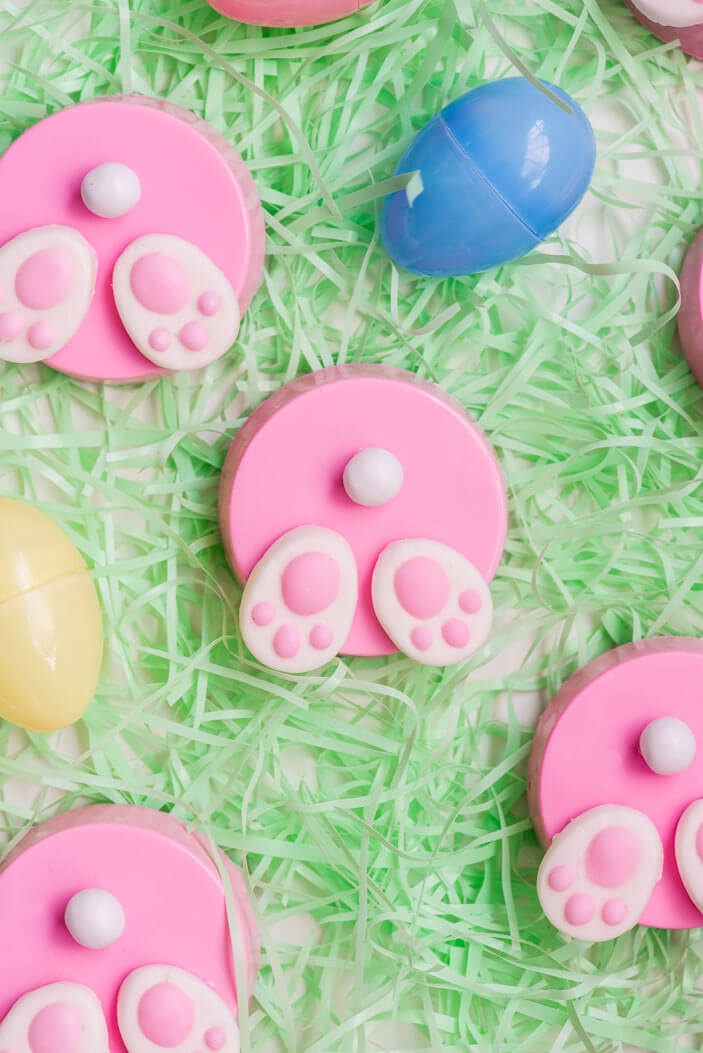
In that list of goodies, I have the Oreo Mold as optional. Why? Because it is not absolutely necessary to make them. I love using the mold because it makes the Oreos look so much cleaner and professional. It just gives you the perfect coating that you will never be able to accomplish when you go with the freehand method. But, if you are in a pinch and can’t get your hands on an Oreo mold, you can absolutely free dip these babies.
If you are going with the free dip method, the best technique is to use a fork. Dunk the Oreo in the chocolate until it is completely covered. Slide a fork underneath the bottom of the Oreo and pull it out. Tap the fork gently against the side of the bowl to get off any excess chocolate. Then place the Oreo on parchment paper to dry.
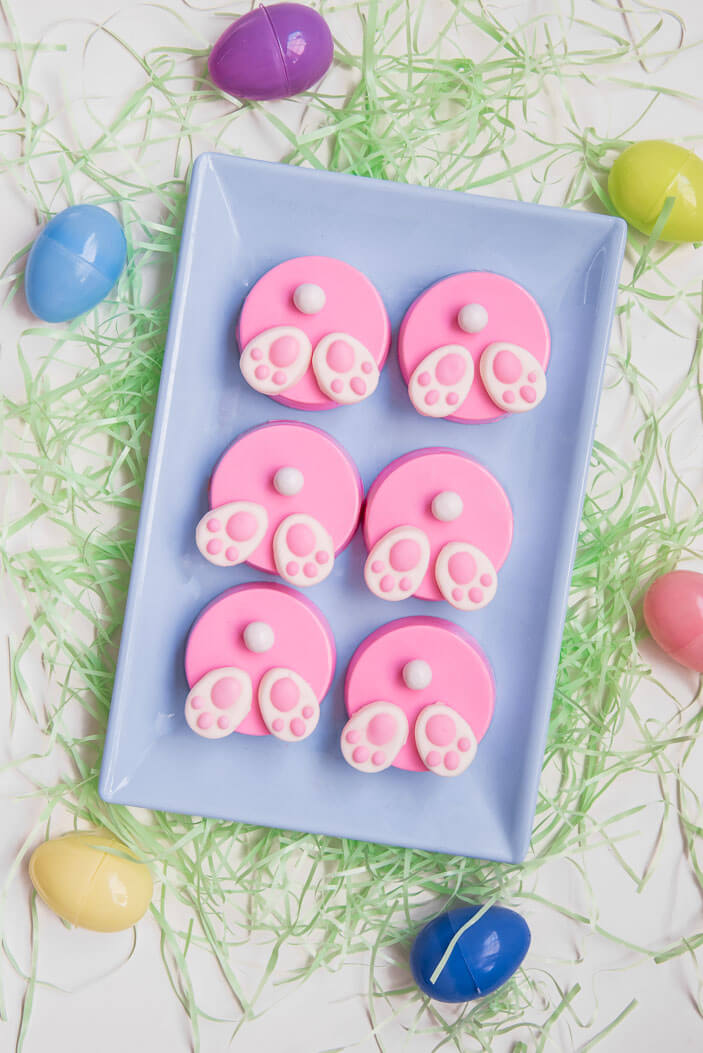
And then I used a toothpick and the leftover chocolate (there is only a little bit) to attach the Bunny Feet Icing Decorations and the tail. And if you don’t finish them all in one sitting, these Oreos will last two weeks stored in an airtight container.
BUNNY BUTT OREOS
Ingredients
- 12 Oreos
- 12 oz. Melting Chocolate
- 24 Bunny Feet Icing Decorations
- 12 Sixlets or Mini Marshmallows

Instructions
- Melt chocolate according to instructions.
- Place a spoonfull of melted chocolate in the bottom of the Oreo mold.
- Tap mold on the table so the chocolate evens out.
- Push Oreo in the middle of the chocolate. This will force the chocolate to come up a little around the sides of the Oreo.
- Place in the fridge for 10 minutes.
- Reheat the melting chocolate if necessary.
- Cover the exposed Oreo with chocolate until it hits the top of the cavity.
- Tap the mold against the table to even out the chocolate. (Make sure you keep remaining chocolate)
- Place in the fridge for 10 minutes.
- Remove Oreos from their cavities.
- Use a toothpick or fork to add a little bit of chocolate to the back of a bunny foot. Attach it to the bottom of the Oreo. Repeat with other bunny foot.
- Repeat with sixlet or mini marshmallow.








Where can I get or how do you make the bunny feet?