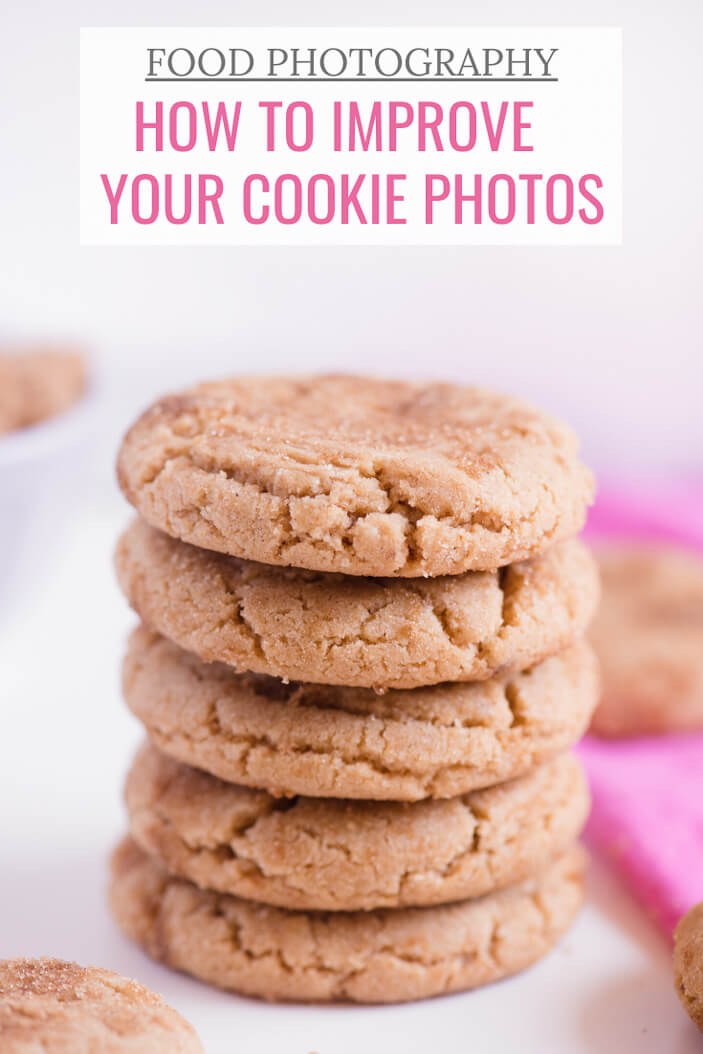
LEARN HOW TO MAKE EVERY SINGLE ONE OF YOUR COOKIES LOOK AS DELICIOUS IN YOUR PHOTOS AS THEY DO IN REAL LIFE. IN THIS POST YOU WILL FIND TIPS AND TRICKS ON HOW TO PHOTOGRAPH THE COOKIES LIKE A BOSS.
My baking career started with a Martha Stewart Cookie Magazine when I was 14 years old – I spent an entire winter trying to bake my way through all 75 recipes. But do you know which ones I started with? The ones with the BEST looking photos. But when I tried to take my own photos, they turned out something like this…
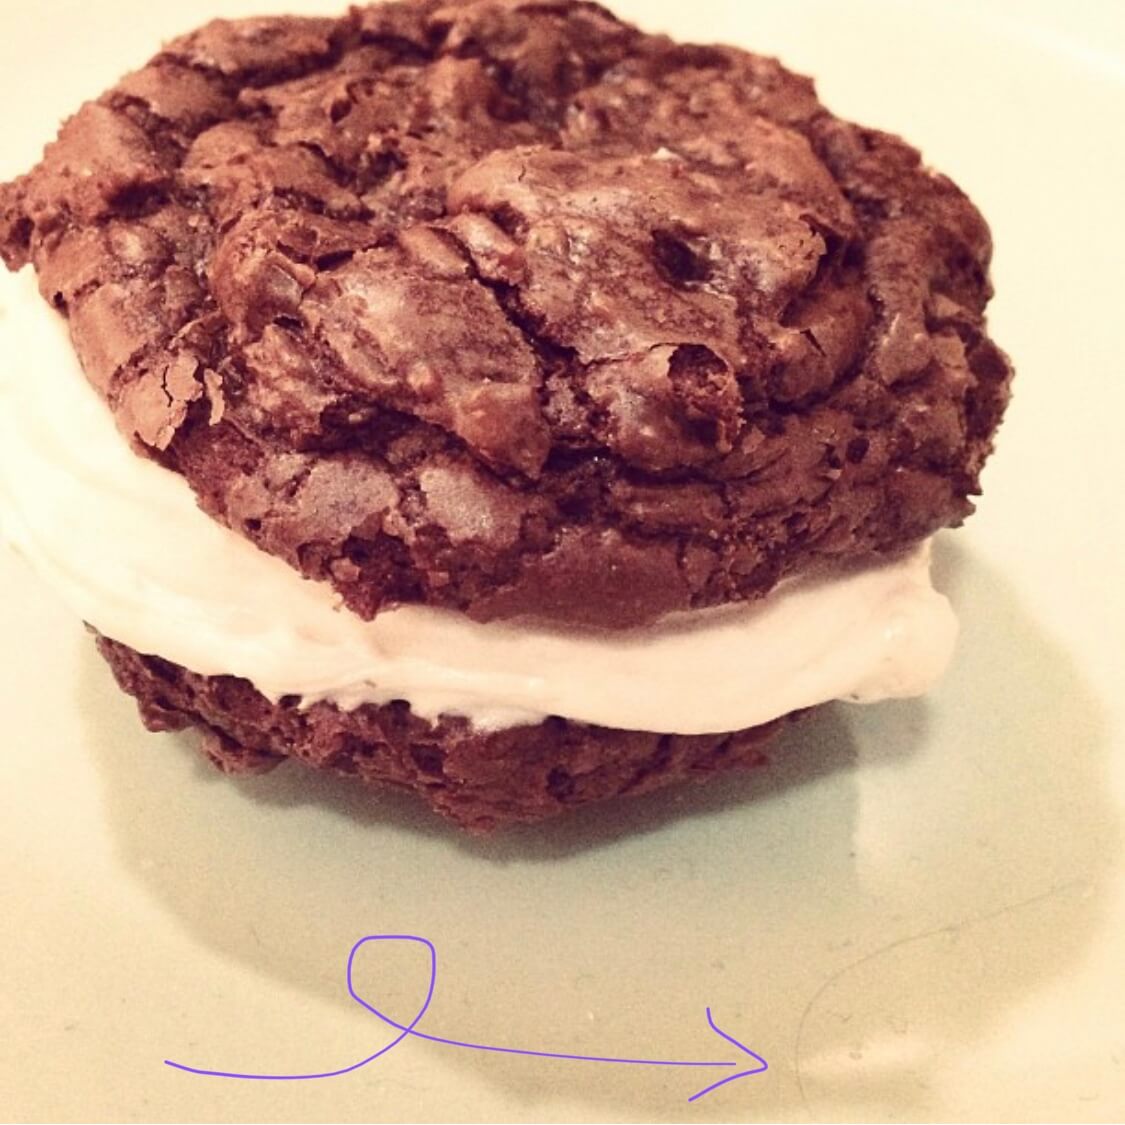
Not really magazine worthy. And on top of it all, I’m pretty sure that’s a hair in the bottom right hand corner. SO freaking gross.
But it turns out, taking photos of cookies is a lot harder than it seems (even when you don’t have hair in it). For some reason, cakes were always so much easier for me. So today, I thought I would share my top tips on making your cookies look so good people will be drooling all over your photos!
 First and foremost, to get a good cookie photo, you need to start with nice looking cookies. I know that seems obvious, but it is really the best place to start.
An excellent cookie photo gives the viewer an idea about what is in the cookie before they even look at the recipe. So when you are baking your cookies, you need to make sure that they are showing off their most important elements.
Here are some examples of how you can do that.
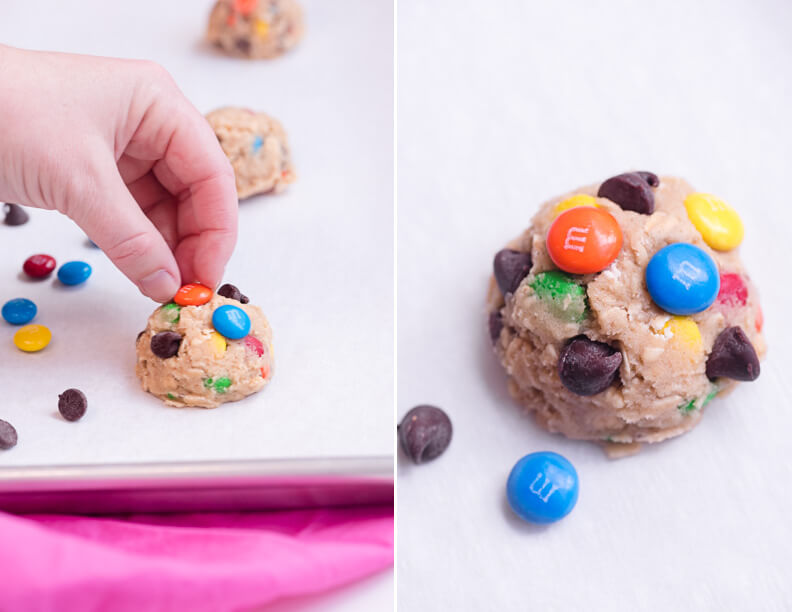
STYLING BEFORE BAKING
If you are baking a cookie with some kind of add-in (chocolate chips, nut, or candy pieces) you want to set some aside for the top of your cookie. Here you can see I have placed my dough balls on my cookie sheet and I am adding a few chips and M&M’s on top of the dough mound. This way when they bake, people will easily be able to tell what is going on inside of the cookie.
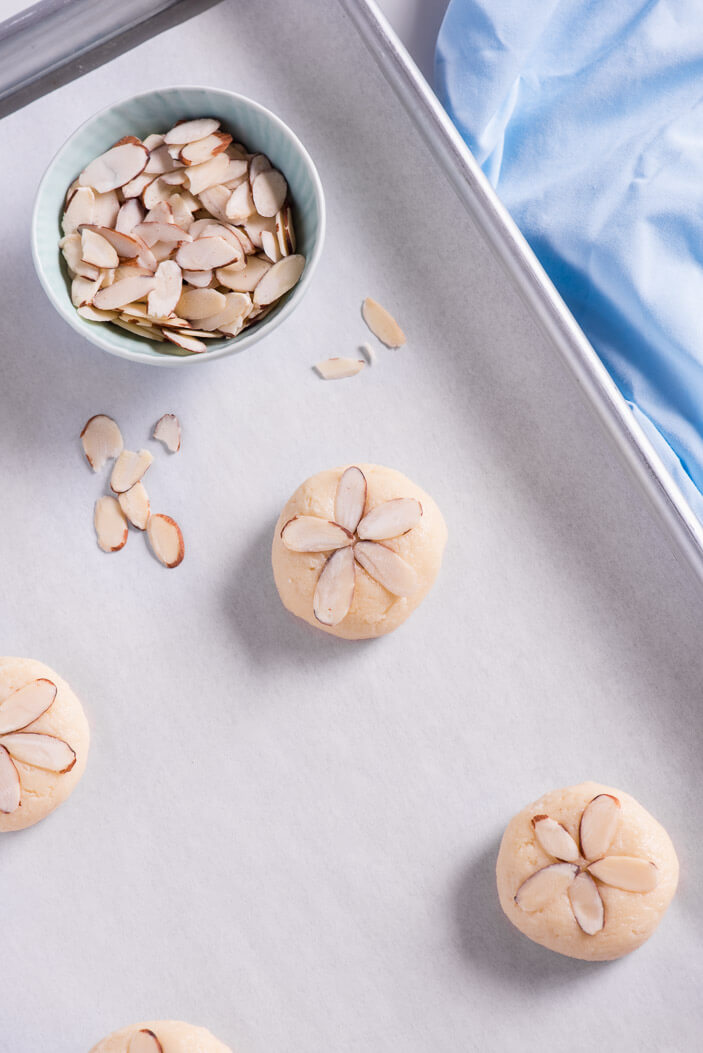
Here is another example where I added almond slivers to the dough before putting them in the oven. Without them, these would look just like a regular sugar cookie. We need to give the viewer a clear understanding of what is happening inside our cookie so they can visualize how it tastes. So they can connect with it.
STYLING RIGHT OUT OF THE OVEN
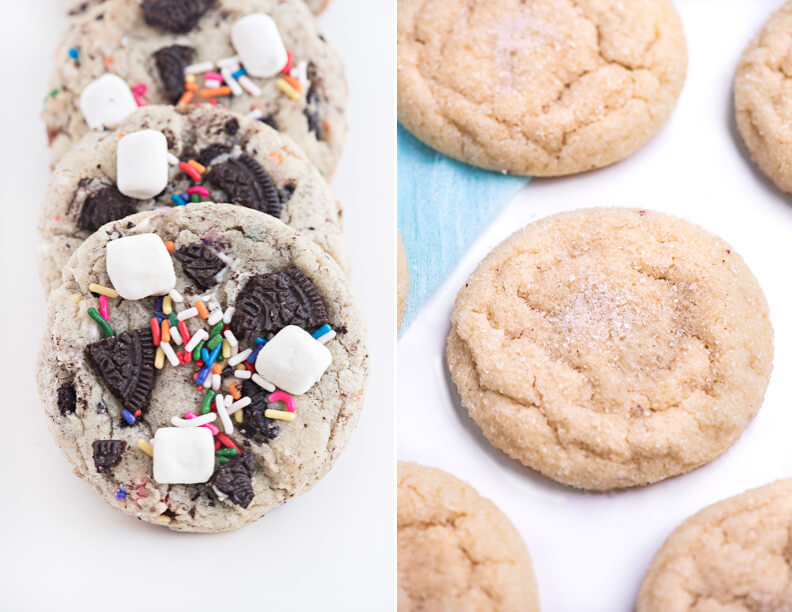
Another way you can do this is by adding a little something extra when the cookie comes out of the oven. When I make sugar cookies or snickerdoodles I like to add a little extra sprinkle of sugar right when they come out of the oven (as seen below). This gives the cookie some added texture and interest and shows off what the flavor is.
Some add ins (like marshmallows) can also be added after the cookies come out of the oven. If you put marshmallows on before you bake the cookies, they can easily burn. Putting them on right when they come out of the oven allows them to soften and stick to the warm cookie.
SHAPE YOUR COOKIES
This is my #1 trick to making cookies look photo shoot ready – the cookie cutter trick! Cookies can get a little wonky in the oven – but this ensures that you have perfectly round cookies every single time. You can read all about it HERE. And if you don’t have a cookie cutter, try using the opening of a heat proof cup.
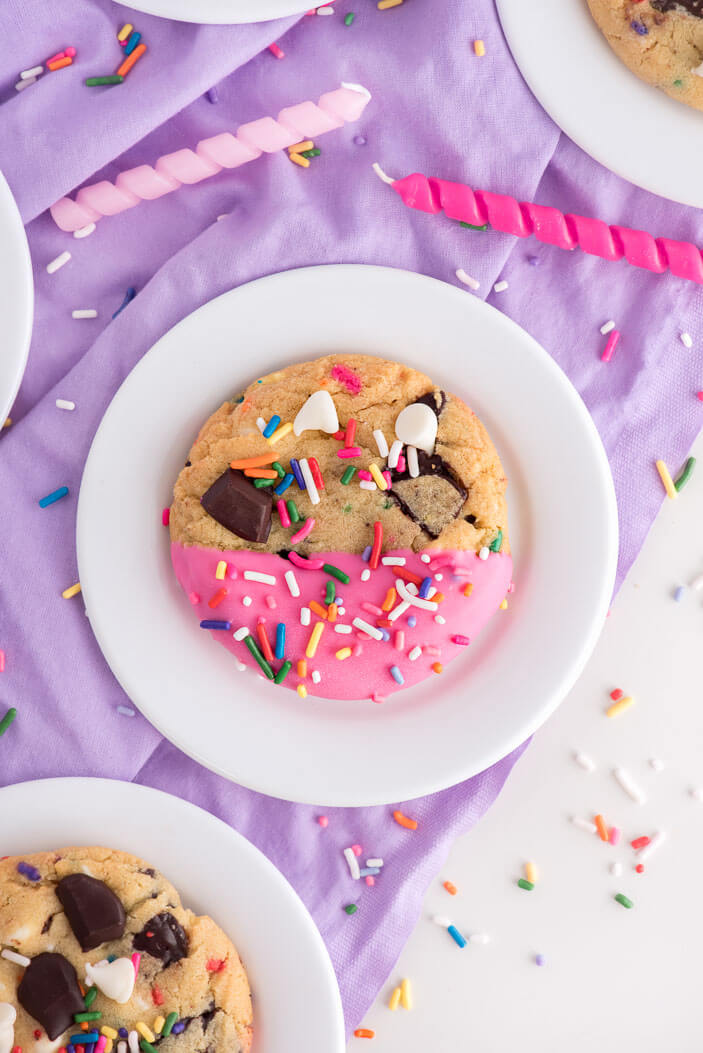
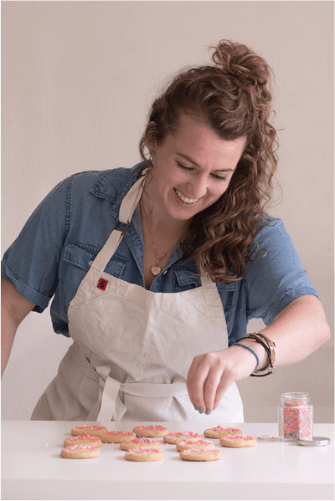
STYLING ONCE COOKIES ARE COOLED
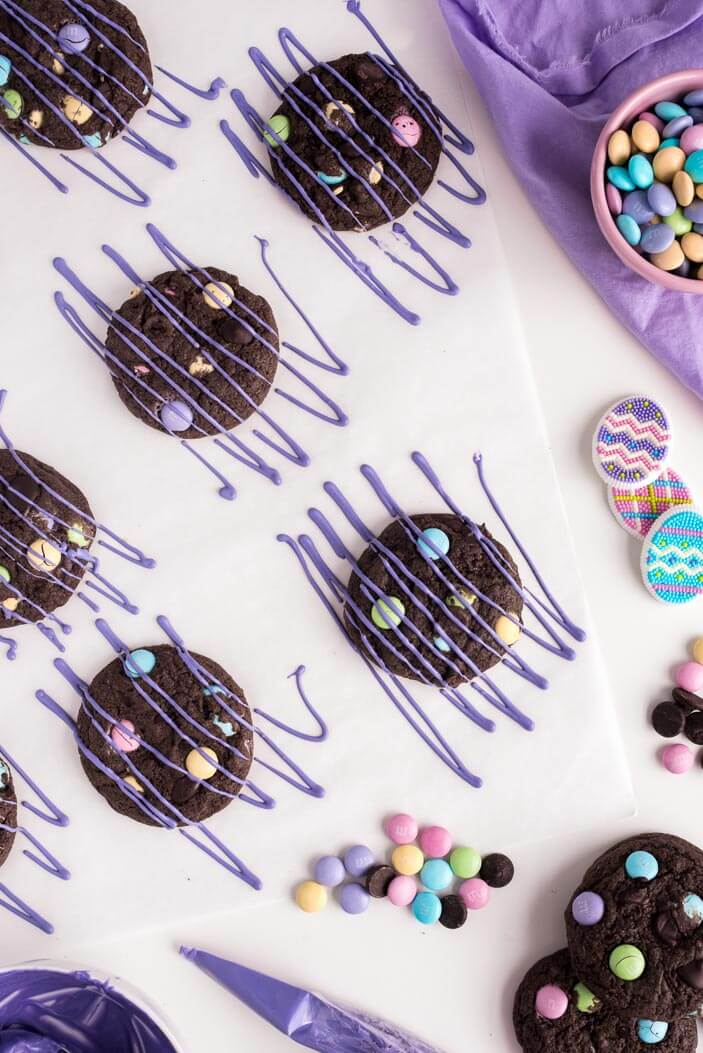
The last thing you can do is add a little something after the cookies are cooled. This could be any kind of drizzle, half dip, powdered sugar or something like edible flowers. This is a great way to make a cookie look more impressive or dress up a cookie that does not look that pretty on it’s own. So if you have a cookie that tastes really good, but maybe isn’t a looker – DRIZZLE the heck out of it!


