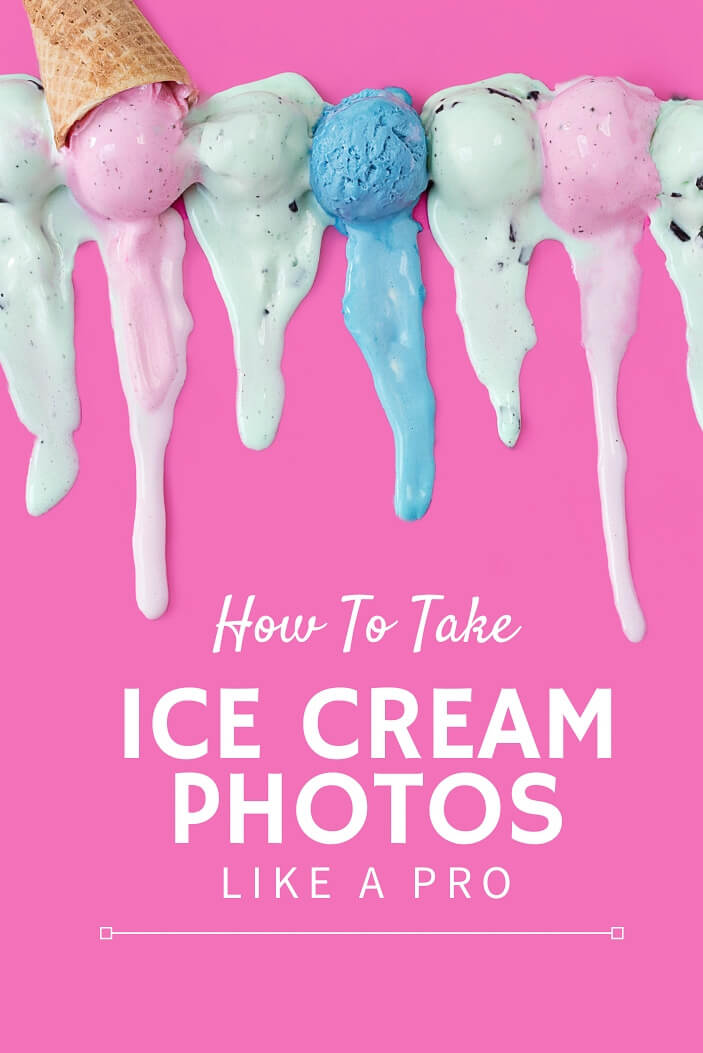
TIPS AND TRICKS ON HOW TO PHOTOGRAPH ICE CREAM LIKE A PRO
I love all things ice cream – eating it, making it, pairing it with cookies and brownies – but photographing it is a very different story.
For years, I struggled with all of these issues. I felt like ice cream was my personal photography nemesis. That it was just laughing at me as it melted away into a lifeless puddle.
But finally, after years of trial and error, I finally figured out how to outsmart the ice cream. Here are my top tips…
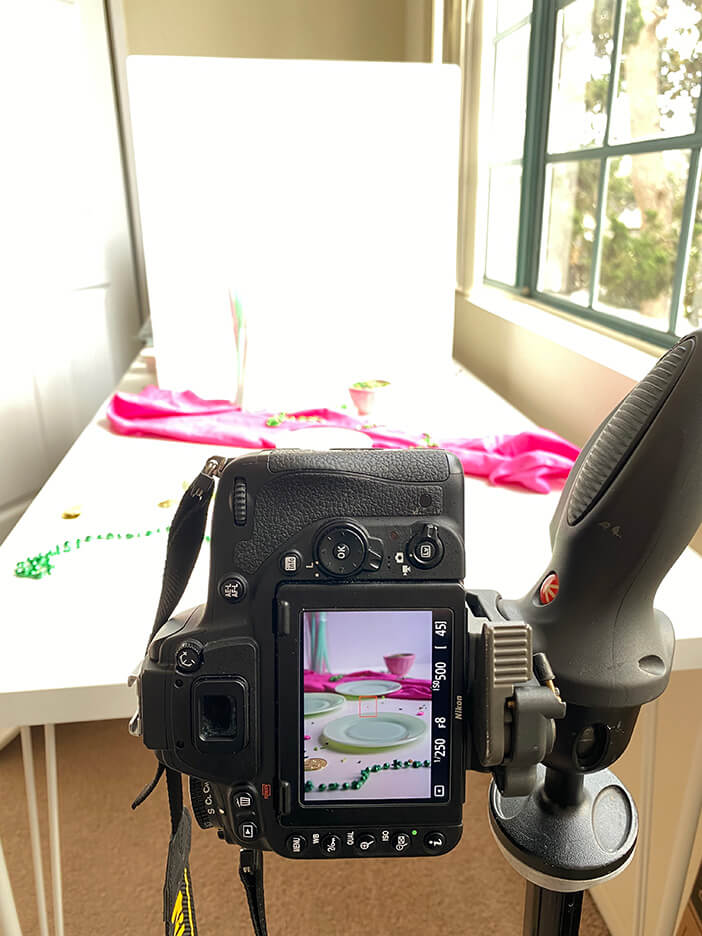
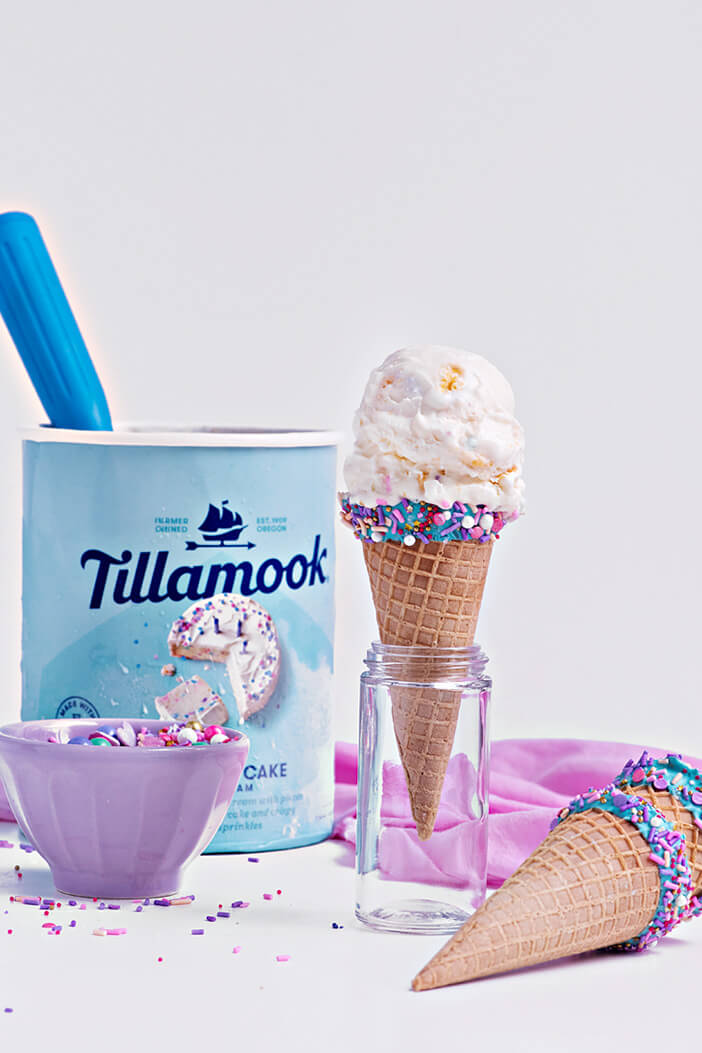
#1 SET UP YOUR SHOT BEFORE YOU SHOOT
Yep! I know this seems too simple, but a lot of people don’t do it. Instead of placing your ice cream and trying to quickly set things up around it, I always set up my shot first. I make sure my camera is in a ready position and all my props are placed accordingly. Then, and only then, do I bring the ice cream out of the freezer. You can see this demonstrated in the photos below.
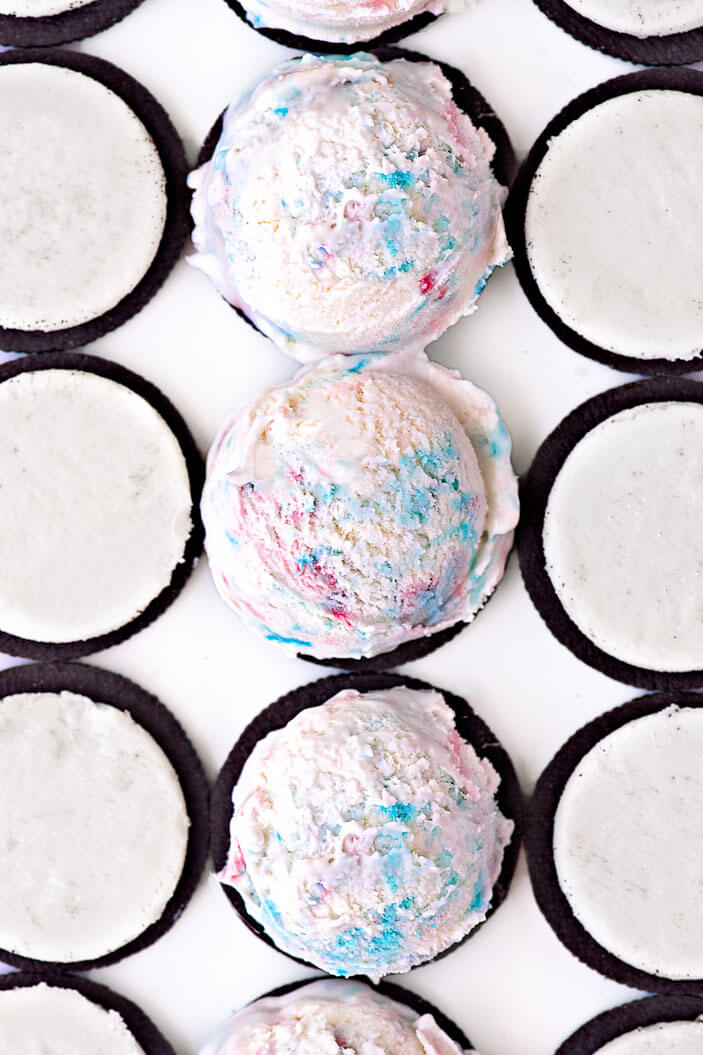
#2 PRE SCOOP YOUR ICE CREAM
Another trick you can use is the pre scoop method. The idea is you prep your scoop of ice cream onto pieces of parchment paper or right onto your cone. And then, put it back in the freezer for at least an hour before you take it out to shoot it. That way your scoop can re-harden in the exact shape you want it to be in. That way when you are ready to transfer it to your setup, it is not already melting. You can see an example below.
#3 SHOOT IN A COOL PLACE
Another one that seems obvious, but for some reason, people forget about this. Do your shoots in the morning when the sun is not beating down like a hairdryer pointed directly at your ice cream one. Or plan to shoot on a cloudy day and/or in a VERY air-conditioned house. If you are using natural light and you HAVE to shoot on a sunny/hot day, place some sort of diffuser between your light source and your subject.
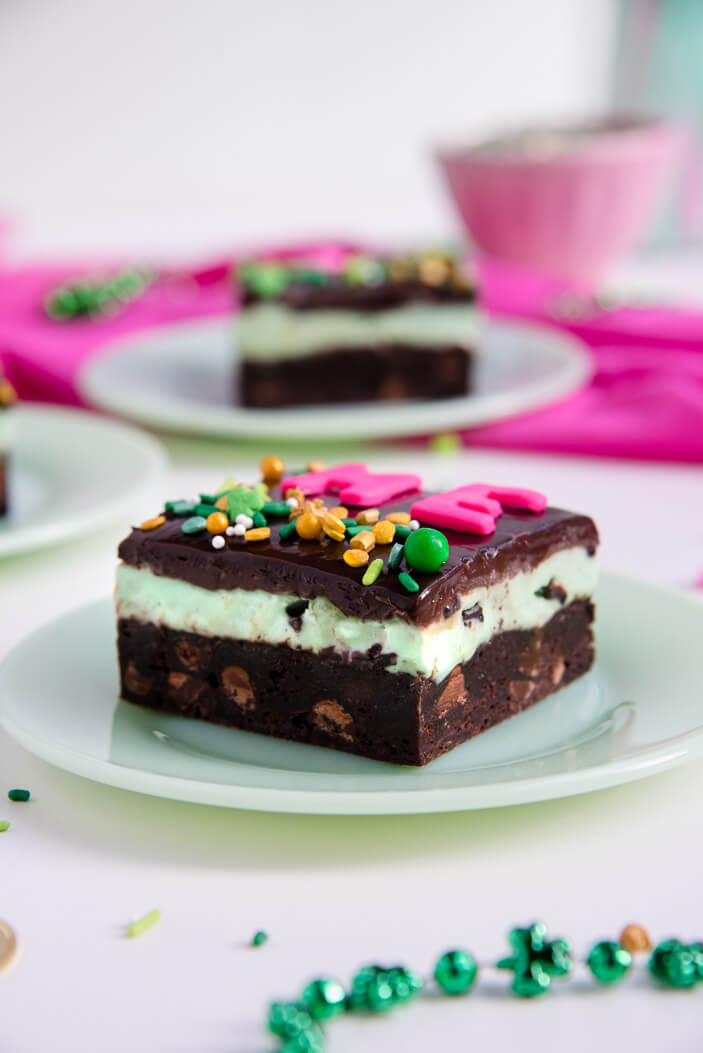
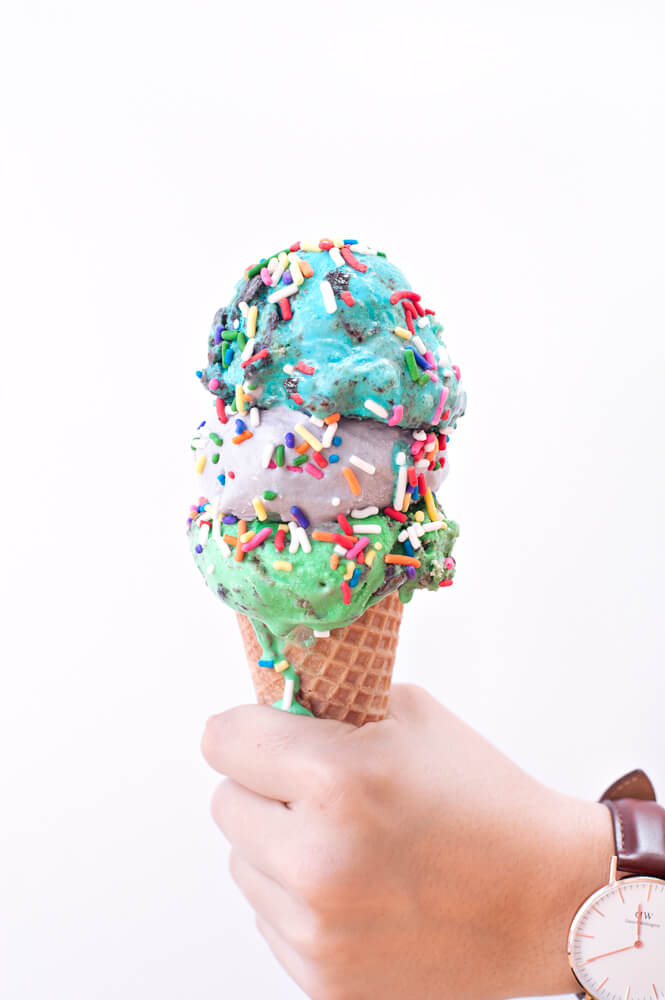
#4 GET CREATIVE WITH YOUR PROPS
Have you ever seen a photo of a hand holding an ice cream cone? Yes. Of course, you have. Because EVERYONE takes photos like this. (Don’t feel bad, I am guilty of it too as you can see below). But if you want your ice cream photos to really stand out, you need to get creative. Try different props or styling techniques. Use glass jars, or other cool containers. Place the ice cream right on your backdrop. Add toppings. Just try to think of some new fun ways you can display your ice cream.
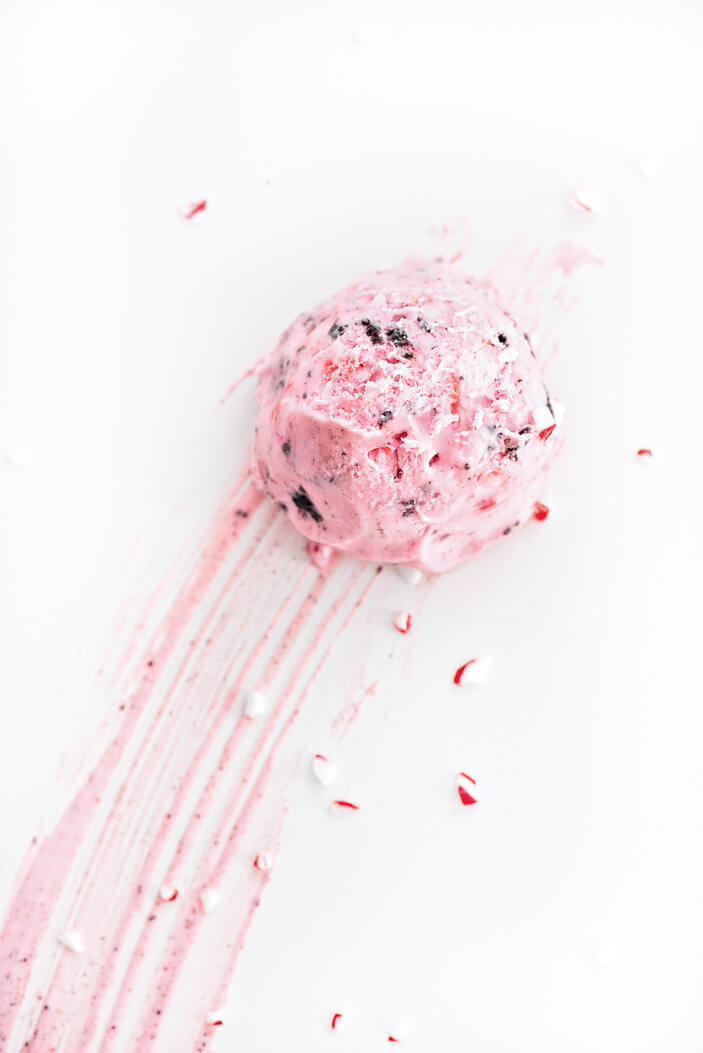
#5 EMBRACE THE DRIPS
I know a lot of the above tips were designed to make sure you have enough time to shoot the ice cream before it starts to melt. But, that does not mean you should avoid the drips all together. The methods above are meant to give you options. It gives you the opportunity to take some clean, non-drippy photos – but keep shooting as it starts to melt! Honestly, the drips can be the best part of an ice cream photo. So make sure you embrace them!
#6 ALWAYS HAVE LOTS OF PAPER TOWELS ON STANDBY
Even when you do use all the tips and tricks – things can still get a little messy. Make sure you are prepared so you don’t get that stickiness all over your nice camera!
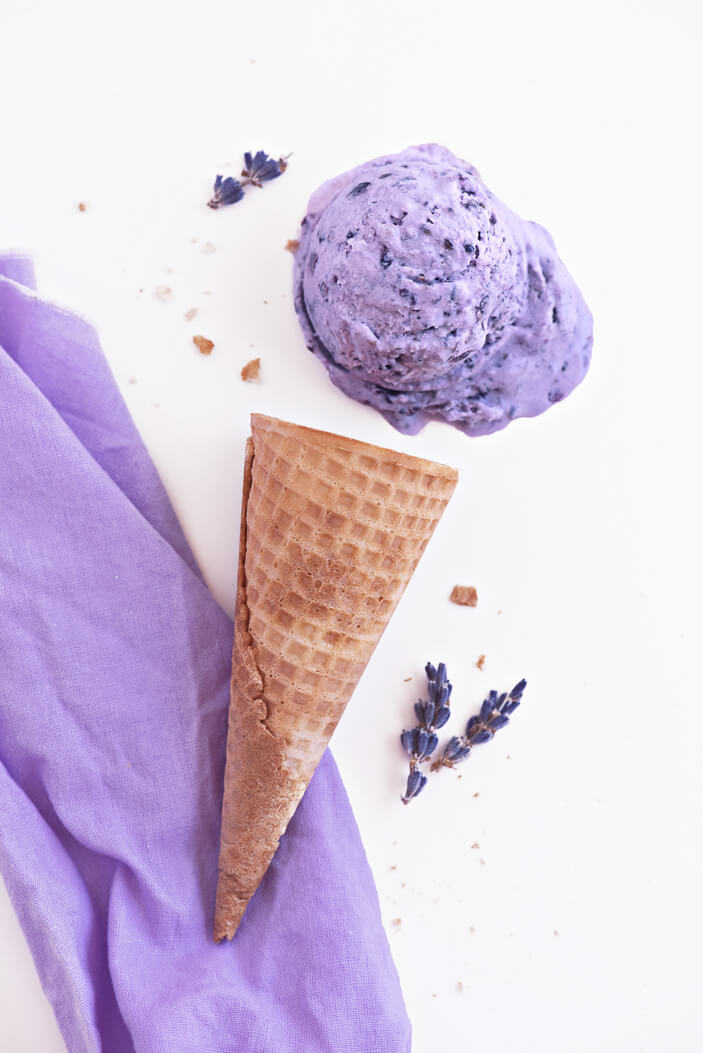
And if you are looking for some homemade ice cream recipes, try my Blackberry Lavender Ice Cream or My Peanut Butter S’mores Ice Cream.
Got any other ice cream photography tips? Leave them in the comments below!


