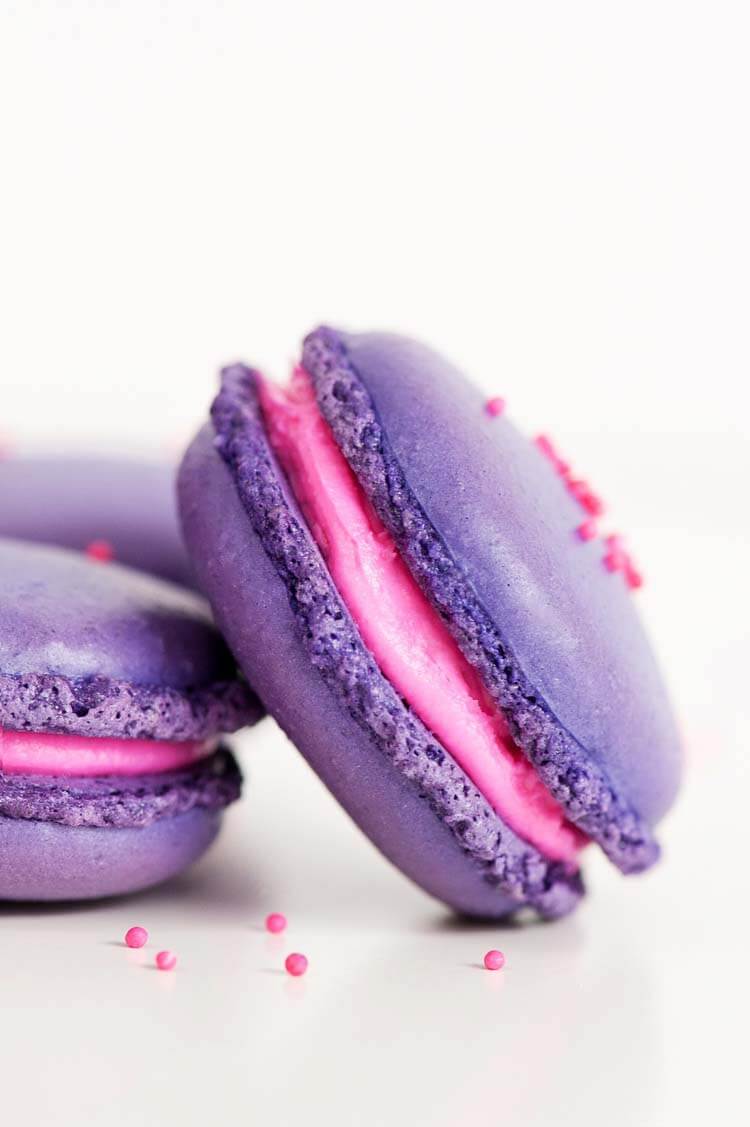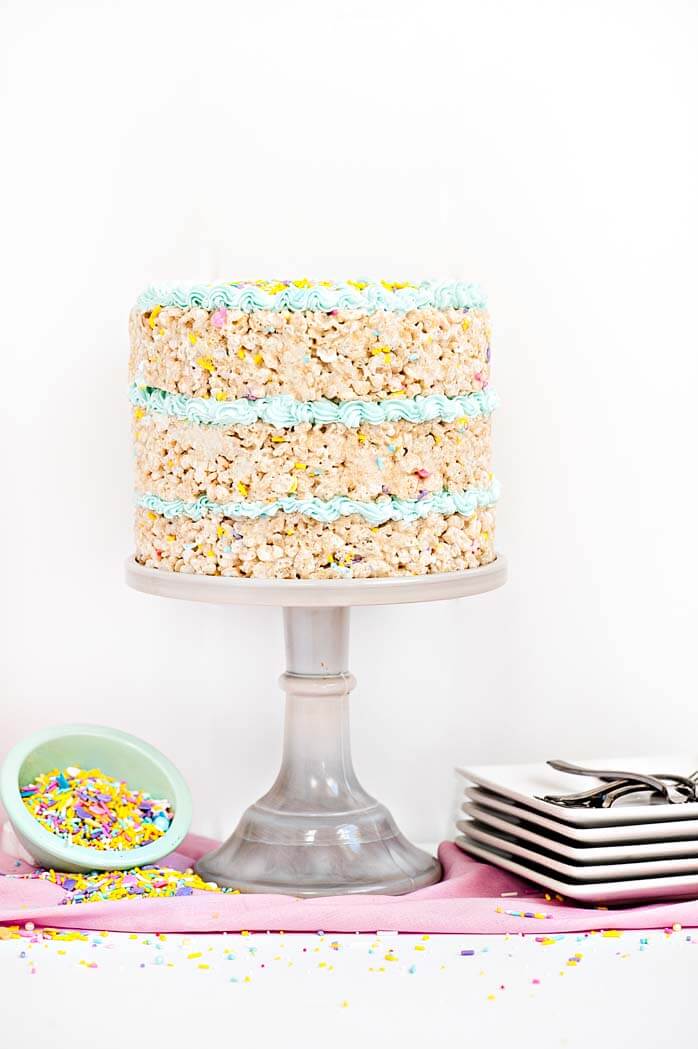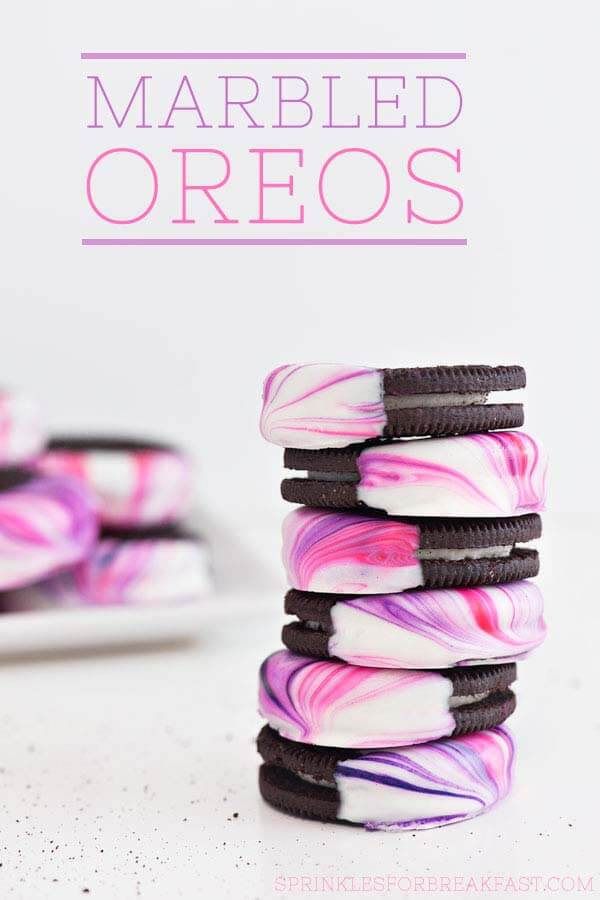
In the past couple of years, I have seen a lot of marbled cakes popping up in the baking world. I have even done a few myself – like this Purple Marble Cake or this Blue Marble Cake. It’s pretty easy technique to master, and let’s be honest, it looks really really cool. But why stop at cakes?
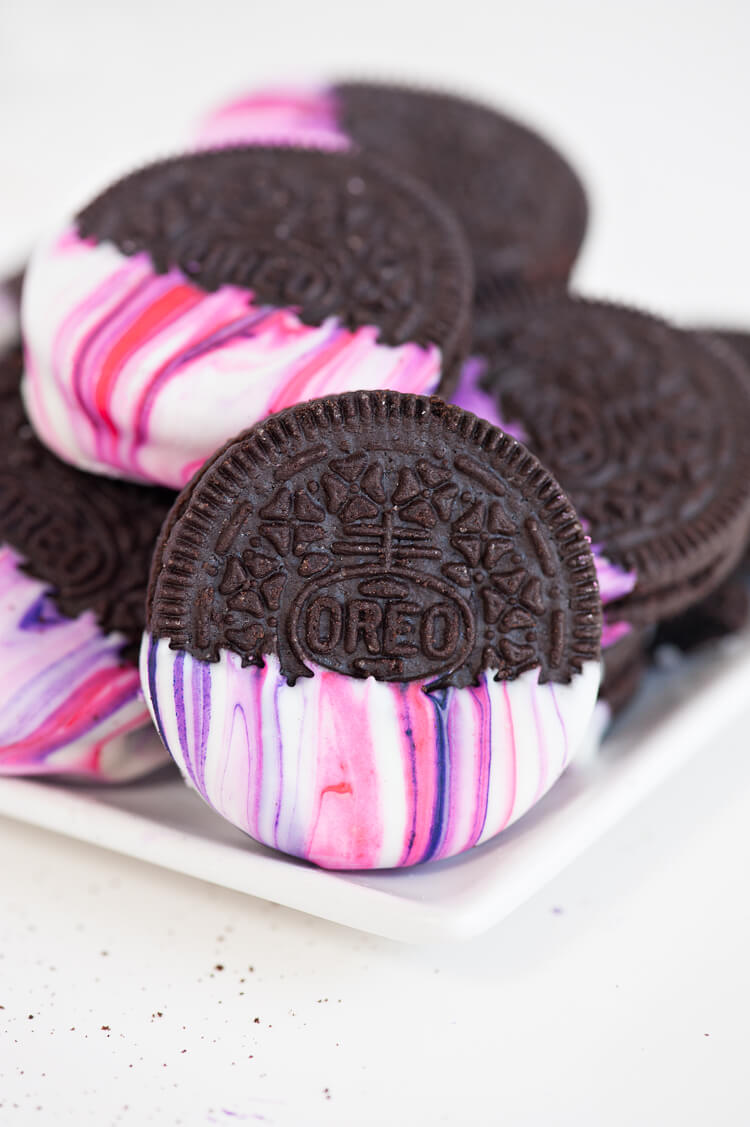
Last week, I decided it was time to go beyond the marbled cake, and take on America’s favorite cookie – The Oreo. The result was pretty great. There are not many things in this world that can beat a good old fashioned Oreo – but I think these marbled ones come pretty close.
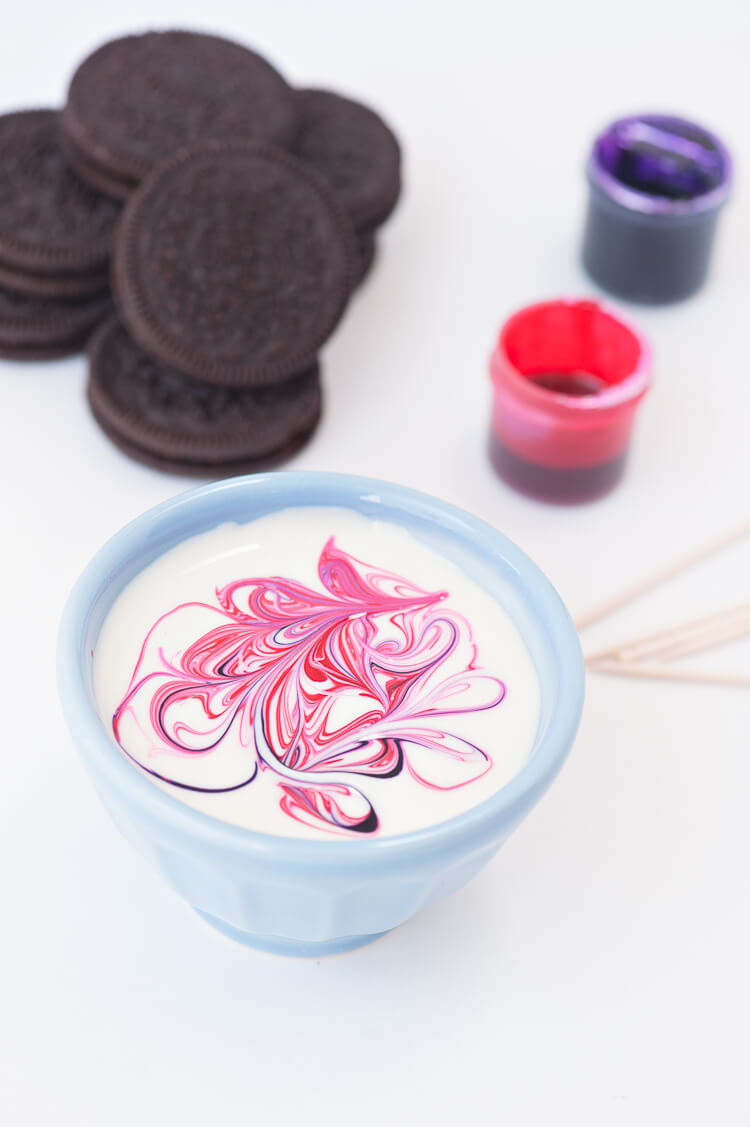
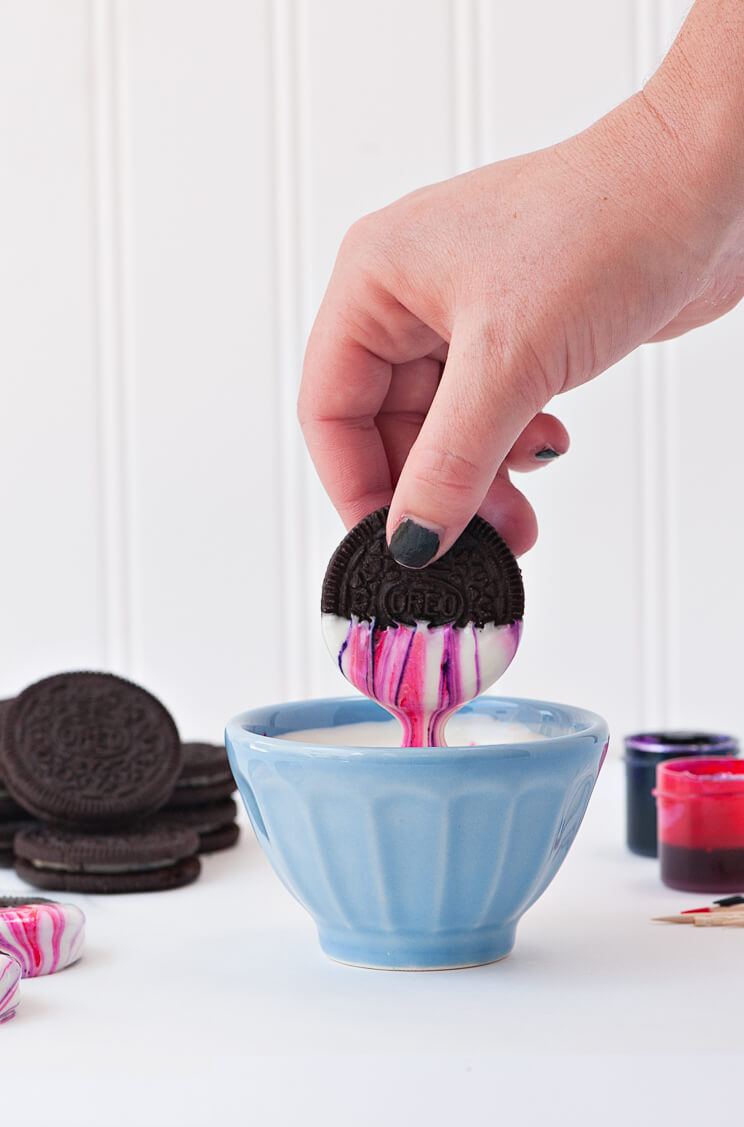
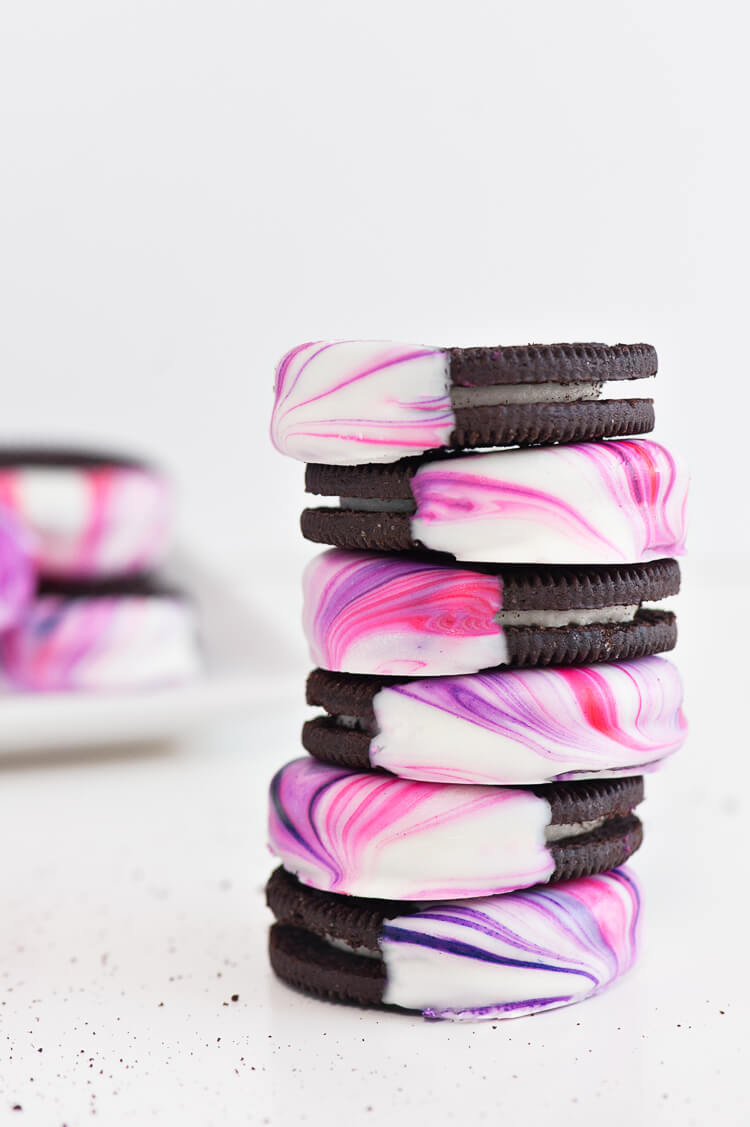
The key is using candy coloring instead of regular food coloring. The regular food coloring is water-based and it will cause the chocolate to seize. Nobody wants that. So make sure you are using an oil-based coloring for these Oreos!
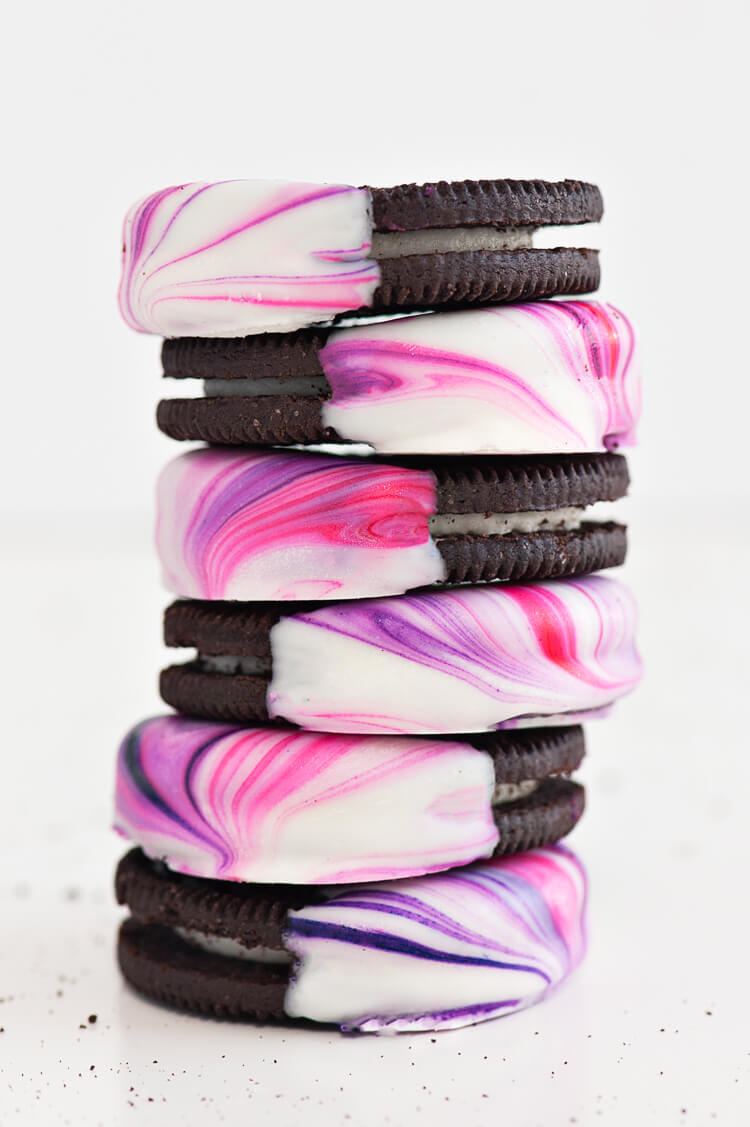
MARBLED OREOS
Ingredients
- 1/4 pound melting chocolate
- Chocolate Coloring (I used Wilton's Pink and Purple)
- 20 Oreos
- Toothpicks
- Small microwaveable bowl (about 2.5" high and 3-4" wide)

Instructions
- Place wax or parchment paper on a flat work surface.
- Put melting chocolate in a microwave safe bowl. Microwave the chocolate in 30 second increments, stirring after each heating, until it is melted. Place 1/3 of the chocolate into a small bowl.
- Dip toothpick into chocolate color and swirl into the small bowl of melted chocolate. Repeat with remaining colors.
- Dip each cookie halfway into the chocolate, coating the back and front evenly.
- Lightly tap the cookie on the rim of the bowl to get off any excess chocolate.
- Place cookie on paper. Let them cool until the chocolate is completely hardened.
- Repeat this process with the rest of the cookies. Once the chocolate begins to lose the white color, add more of the white melted chocolate and chocolate color.


