In the last couple of years, blogging has taught me a lot about life, structure and creativity. It has taught me to be a better photographer, a better writer, and a better baker – along with the fact that the kindness of a complete stranger can really make my day. But, it has also taught me that people LOVE Oreos.
I don’t blame them – Oreos are delicious. And they are, after all, America’s Favorite Cookie. But I guess I just didn’t realize HOW much people loved their Oreos.
Let me tell you how I know this. These Confetti Oreos I made last Spring are by far the most popular recipe I have ever created here on Sprinkles For Breakfast. They have dominated the Pinterest world, been responsible for some of my highest likes on Instagram, and have been featured on quite a few articles around the interwebs.
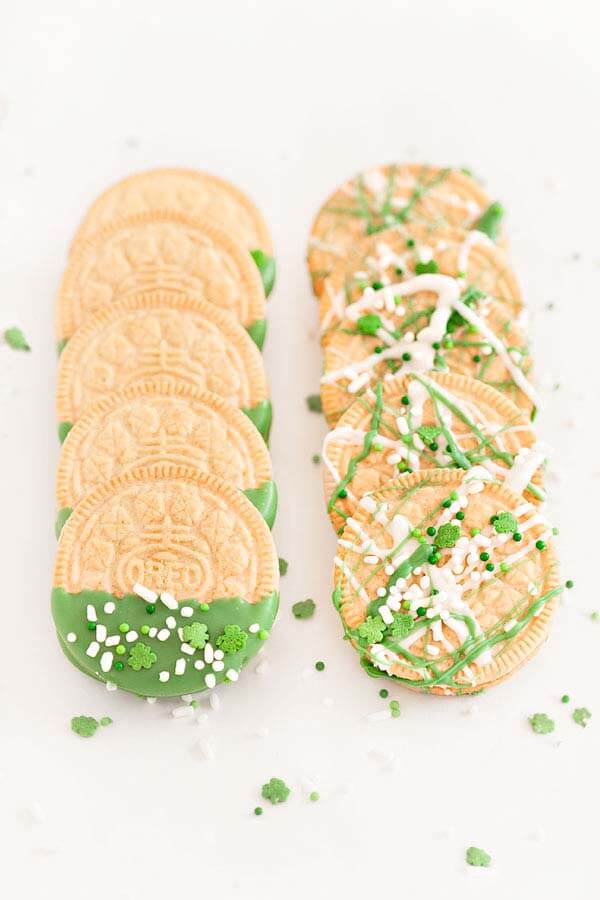
I try not to let my baking skills get too offended by their success, because, in reality, there was no baking required at all. I literally just dipped the Oreos in some colorful chocolate and threw on a few sprinkles.
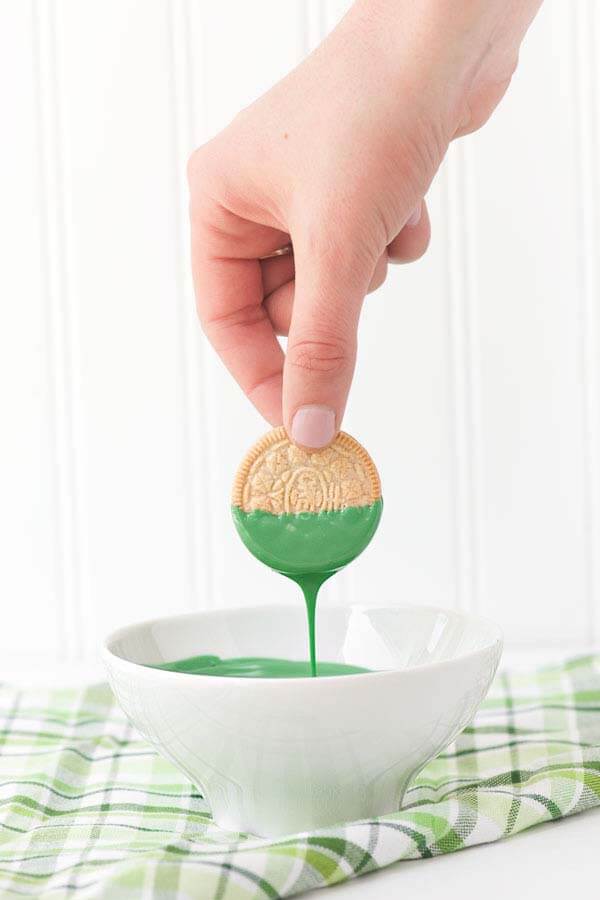
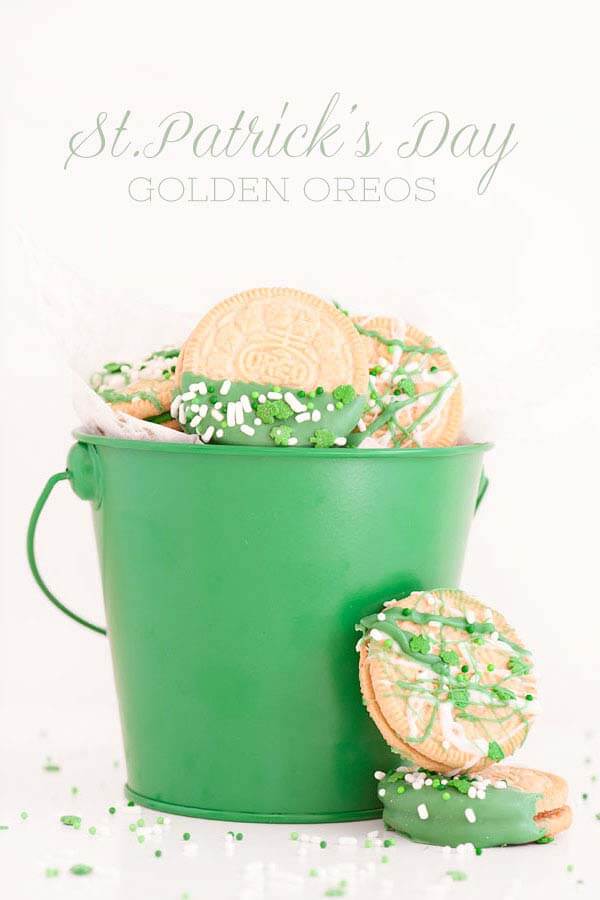
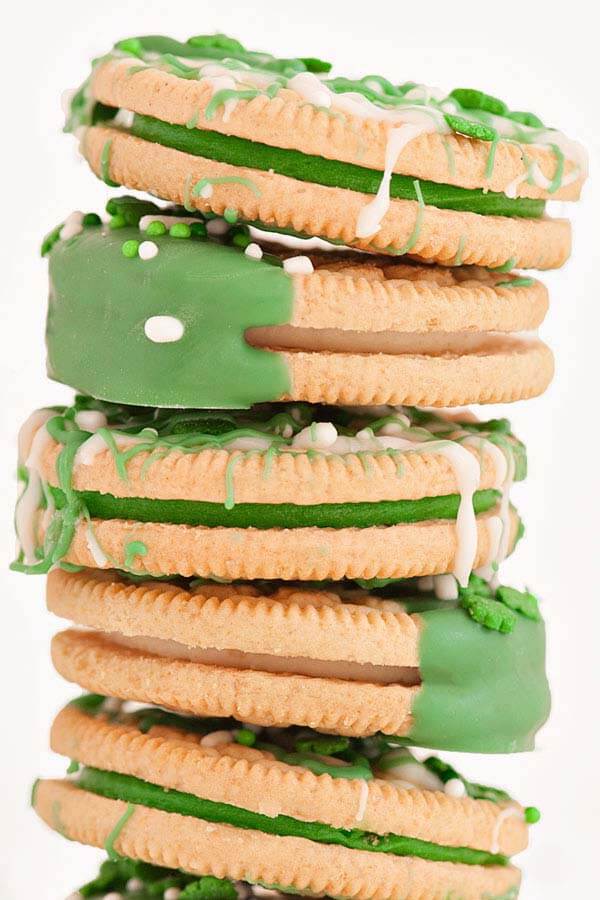
So, with St. Patrick’s Day around the corner, I decided it was time to give these Oreos a holiday makeover. But this time, on top of the simple dip and sprinkle decoration, I also created a custom St. Patty’s themed filling. The customized filling is quite simple, and really allows you to step up your Oreo decorating game. All you have to do is scrape out the center, and add your own colorful buttercream.
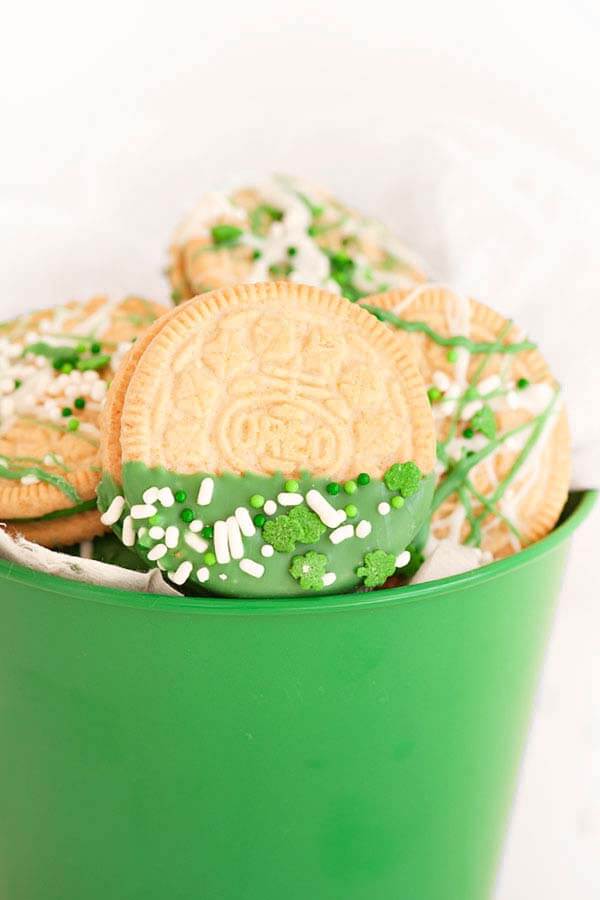
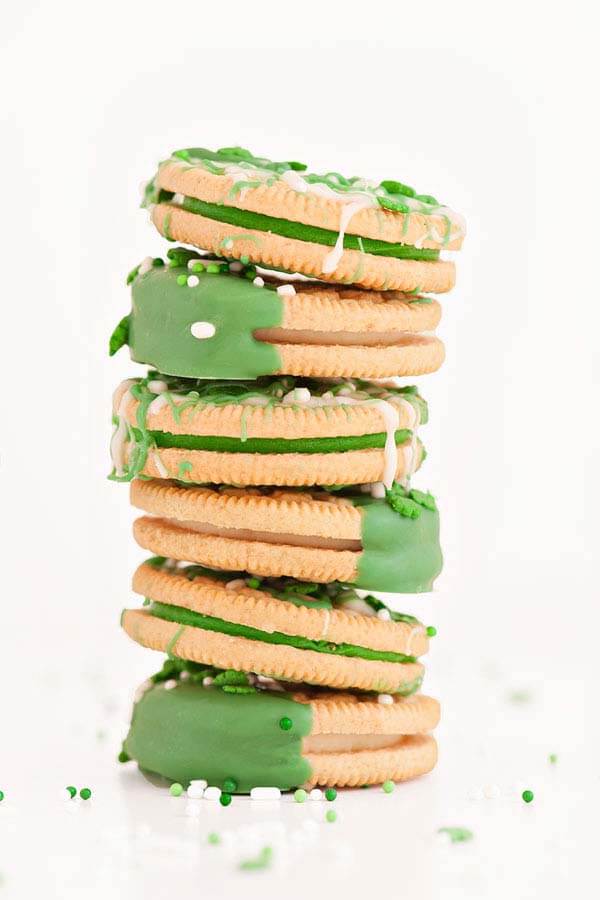
Like I said before, these Oreos are easy to make and always act as a huge crown pleaser. So if you are throwing a St. Patrick’s Day Party this weekend, I would definitely add these to the menu! Trust me when I say….People LOVE their Oreos!
ST. PATRICK'S DAY OREOS
Ingredients
- Oreos
- 1/4 pound Green Melting Chocolate
- 1/4 pound White Melting Chocolate
- Golden Oreos
- St. Patrick's Day Sprinkles
BUTTERCREAM FILLING
- 1/2 cup butter, room temperature
- 1 3/4 cup powdered sugar
- 1/2 tsp milk
- 1/2 tsp vanilla extract

Instructions
For the buttercream:
- In a stand mixer with a whisk attachment, cream butter until it is soft and smooth.
- Add powdered sugar, milk, vanilla and green food coloring. Mix until combined.
- Using an offset spatula, divide the Oreo in half and scape off the center filling.
- Place buttercream in a pipping bag, and pipe a large dollop of buttercream in the center.
- Sandwich the cookie back together.
For the classic dip Oreo:
- Place wax or parchment paper on a flat work surface.
- Put melting chocolate in a microwave safe bowl. Microwave the chocolate in 30 second increments, stirring after each heating, until it is melted.
- Dip each cookie halfway into the chocolate, coating the back and front evenly.
- Lightly tap the cookie on the rim of the bowl to get off any excess chocolate.
- Place cookie on paper and add sprinkles.
- Repeat this process with the rest of the cookies and let them cool on the paper until the chocolate is completely hardened.
For the custom center Oreos:
- Place wax or parchment paper on a flat work surface.
- Put melting chocolates in a microwave safe bowls. Microwave the chocolates in 30 second increments, stirring after each heating, until melted.
- Using a spoon, drizzle both colors of chocolate over the Oreo.
- Quickly add sprinkles before the chocolate hardens.


