I can’t believe it’s already September. Like, what? How did that happen? I feel like this year has just flown by – and at the rate things are going, I really need to start thinking about my dog’s Halloween costume. Obviously that is not something that you can leave until the last minute.
But before we start talking Halloween, let’s talk Chocolate Peanut Butter Cake Pops. In my opinion, most Chocolate Peanut Butter Cake Pops are just not peanut buttery enough. The chocolate/peanut butter ratio always seems to be a little off.
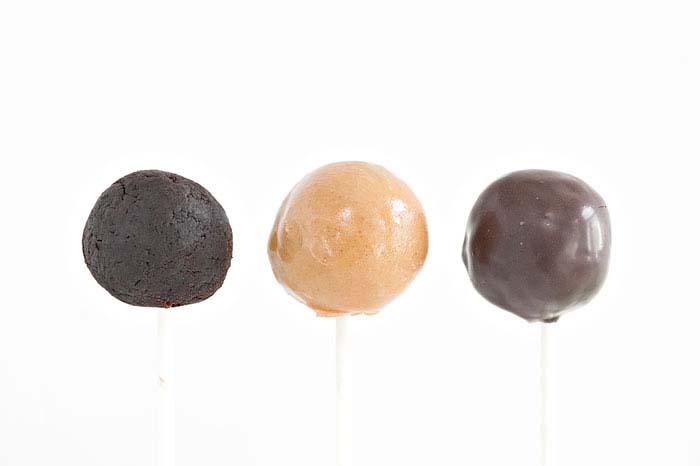
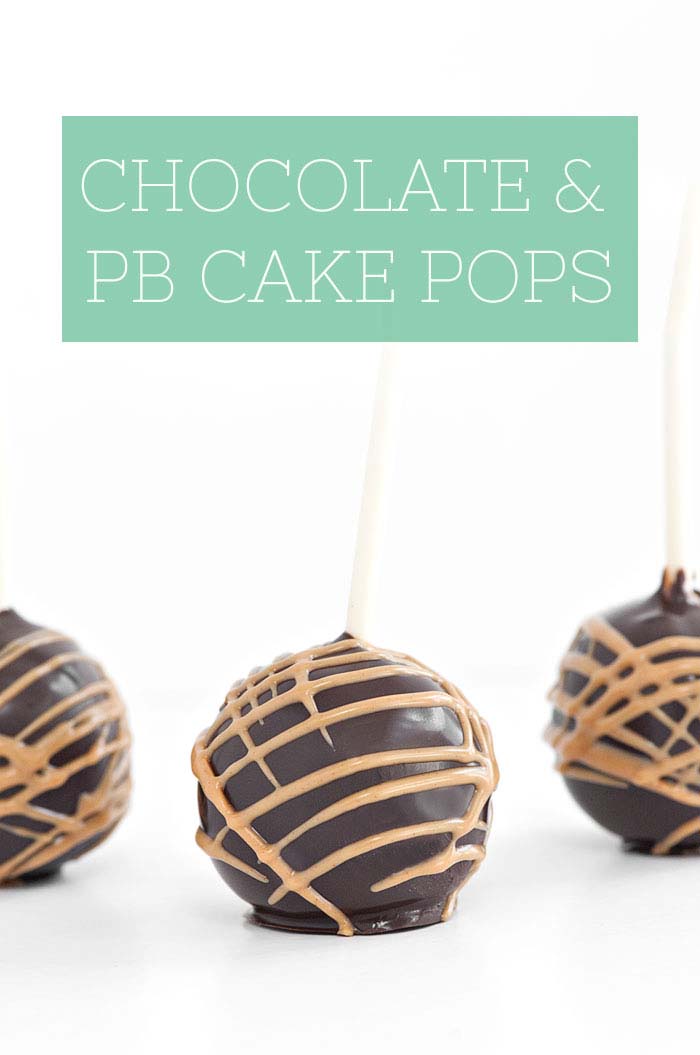
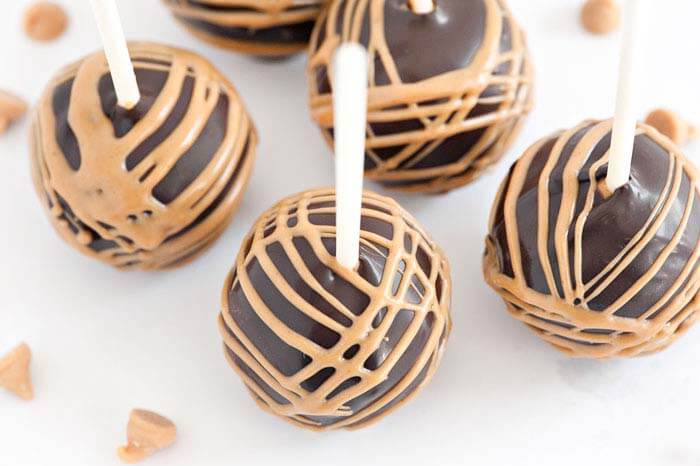
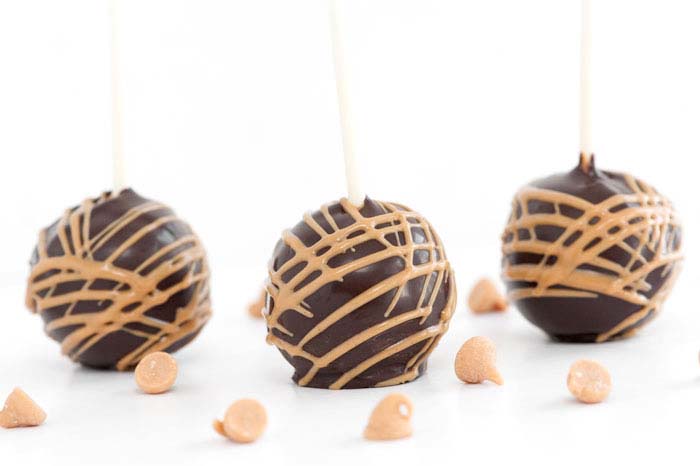
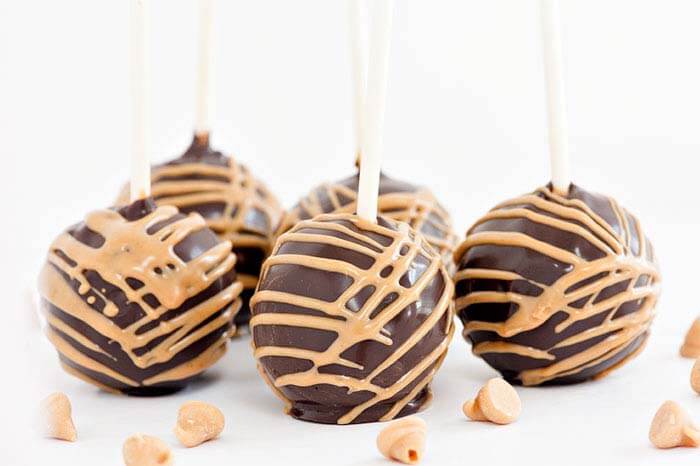
But, I came up with a way to fix that. Instead of just using peanut butter to bind the cake crumbs together, I decided to take it a step further and just dunk the whole pop in both peanut butter and chocolate (as seen above).
Not only does this improve the chocolate to PB ratio – but it greatly enhances your Chocolate Peanut Butter Cake Pop eating experience. You can trust me…I tested it many, many times.
Cake recipe adapted from here.
CHOCOLATE PEANUT BUTTER CAKE POPS
Ingredients
CHOCOLATE CAKE
- 2 cups sugar
- 1 3/4 cups all-purpose flour
- 3/4 cup unsweetened cocoa powder
- 2 teaspoons baking soda
- 1 teaspoon baking powder
- 1 teaspoon salt
- 2 eggs
- 1 cup buttermilk
- 1 cup strong black coffee
- 1/2 cup vegetable oil
- 2 teaspoons vanilla extract
COATING
- 1 lb. dark melting chocolate
- 1 1/4 cups peanut butter (I recommend using Skippy)
- 1/4 cup mini chocolate chips
- Lollipop sticks
- Styrofoam Cake Block
- Pipping Bag
- Small round pipping tip
Instructions
FOR THE CAKE
- Preheat the oven to 350°F and grease a 9 x 13" pan and line with parchment.
- In the bowl of a stand mixer fitted with a paddle attachment or in a large bowl with an electric mixer, combine the sugar, flour, cocoa, baking soda, baking powder, and salt. Mix on low until dry ingredients are thoroughly combined.
- Add eggs, buttermilk, coffee, oil and vanilla.
- Beat on medium speed for about two minutes; the batter will be thin. Pour batter evenly into prepared pan.
- Bake in preheated oven for 30 to 35 minutes for round pans, or until wooden toothpick inserted in center comes out clean.
- Let cake cool completely on a wire cooling rack.
FOR THE COATING
- Once the cake is cooled, use your hands or two forks and to crumble the cake into fine crumbs.
- In a large bowl, combine crumbs with 1/4 cup + 1 tablespoon peanut butter and 1/4 cup mini chocolate chips.
- Mix with hands or a fork until peanut butter is fully incorporated. You want the mixture to be just moist enough to roll into balls.
- Using a small ice cream scoop, scoop out a small amount of cake mixture and roll between cupped hands to form a round ball.
- Put balls on a plate and cover with plastic wrap. Place in refrigerator for at least 2 hours.
- Place remaining amount of peanut butter (about 1 cup) in a microwave safe bowl. (Make sure it is deep enough to submerge the entire ball in the chocolate). Microwave the peanut butter in 15 second increments, stirring after each heating, until it is melted.
- Dip lollipop stick into peanut butter and then into the middle of a cake ball.
- Dip cake ball into the peanut butter until it is completely covered. Hold it sideways over the bowl and rotate it and tap it so any excess comes off.
- Push lollipop stick into styrofoam block. Once all pops are completed, set the peanut butter aside (you will need it for decorating), and place block into the refrigerator for at least 1 hour, or until the peanut butter has completely hardened.
- Melt dark chocolate melting chocolate in a microwave safe bowl. Microwave the chocolate in 30 second increments, stirring after each heating, until it is melted.
- Dip the peanut butter covered pop into the chocolate until it is completely covered. Hold it sideways over the bowl and rotate it and tap it so the excess chocolate comes off.
- Put lollipop stick back into the styrofoam block to dry.
- Once chocolate is dry, put the leftover peanut butter back in the microwave for 15 - 30 seconds.
- Place melted peanut butter in pipping bag, with a small round tip.
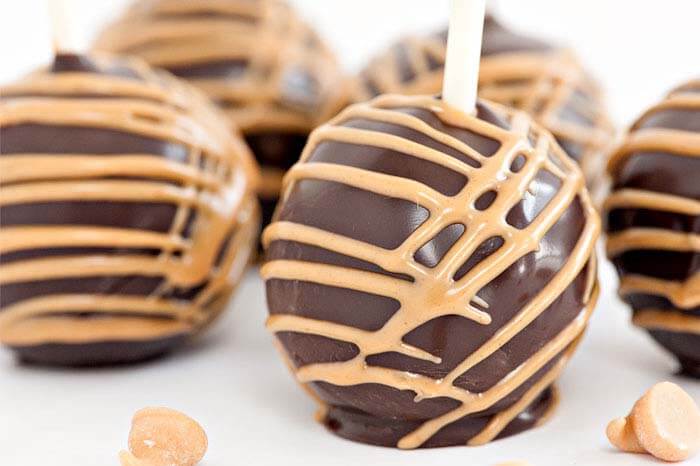
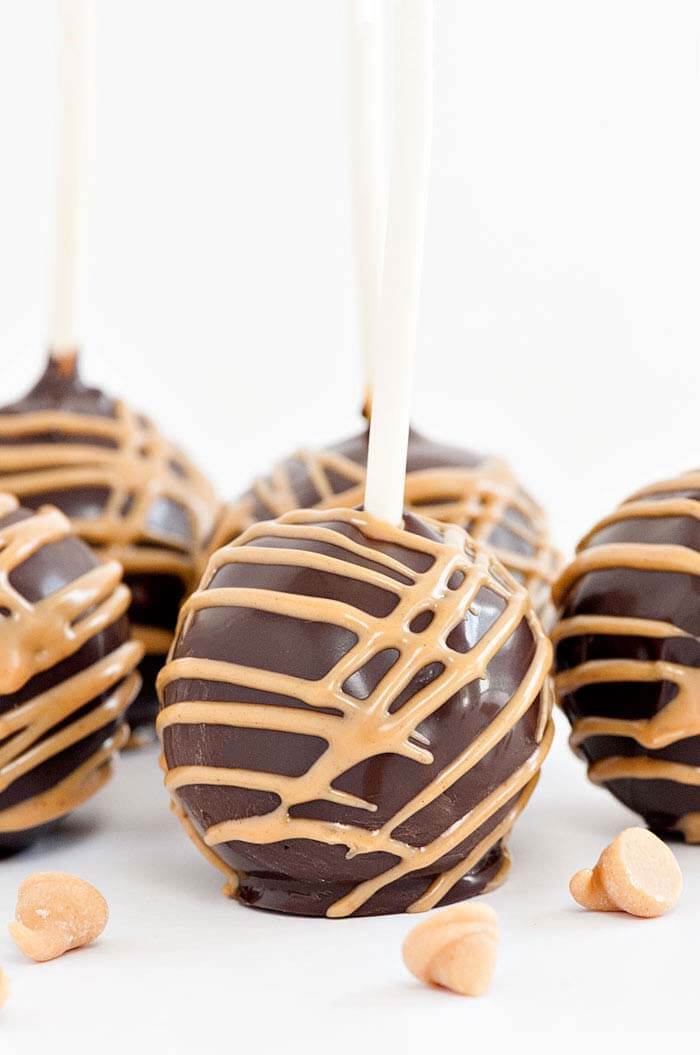
- Drizzle lines covering all sides of the ball. Place back in the styrofoam block to dry.


